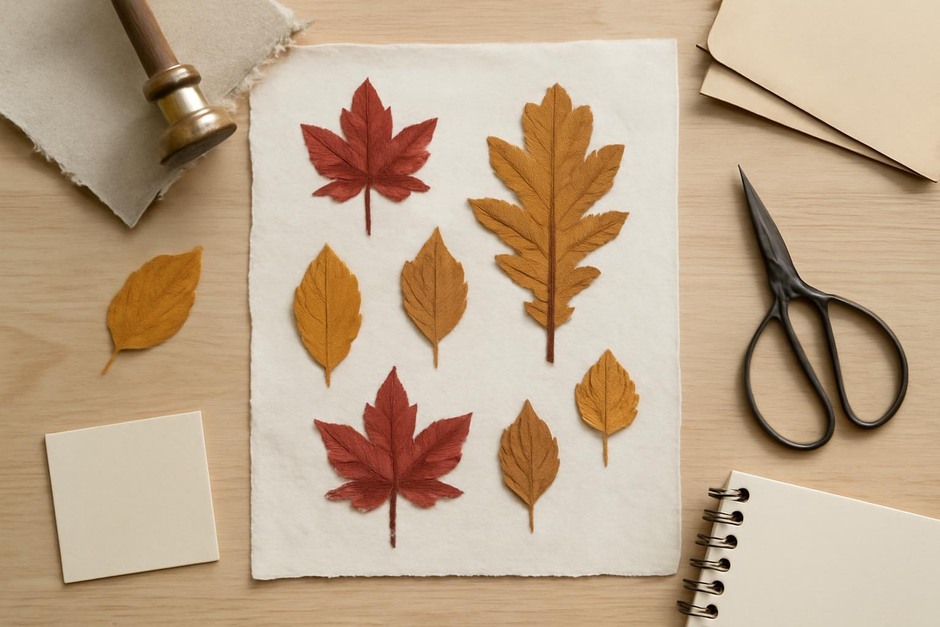
Studio Notes: Pressing Autumn Leaves for Simple Seasonal Decor
Problem: You bring home a handful of beautiful autumn leaves after a walk, then watch their colors fade and edges curl. You want a way to preserve their shape and color for simple home display without a lot of specialized equipment or a big time commitment. Which method balances ease, longevity, and aesthetic flexibility?
Principles that Guide the Process
In this short studio exercise I kept three practical principles front of mind. They informed both materials and technique, and they make it easier to repeat the process season after season.
- Respect the material. Leaves are thin and fragile. Gentle handling reduces tearing and unplanned discoloration.
- Control moisture and airflow. Pressed leaves last because moisture is removed in a controlled way. Too rapid drying can cause brittleness; too slow invites mold.
- Keep technique adaptable. Work with what you have: heavy books, absorbent paper, a warm dry spot. The goal is preservation for home display, not museum conservation.
Process — a simple, repeatable method
Materials: absorbent paper (blotting paper, unprinted newsprint, or plain cartridge paper), heavy books or a flower press if you have one, thin cardboard or corrugated sheets to provide even pressure, and a small bag for collecting.
- Collect thoughtfully. Choose leaves that are dry and intact—no heavy dew, no visible damage. Avoid leaves that are already brown and brittle; mid-stage color gives best results. Note that freshly fallen leaves often have the most saturated hues.
- Initial flattening. Lay each leaf flat between two sheets of absorbent paper. If you have many leaves, stack them with a sheet between each layer. Add a thin cardboard sheet at the top and bottom of the stack to distribute weight evenly.
- Apply steady pressure. Place the stack under a heavy book or a pile of books. Put the whole stack in a warm, dry location out of direct sunlight. Check after 24 hours to ensure the paper is drying; if damp, change the papers.
- Drying period. Leave leaves under pressure for 1–2 weeks. Replace the absorbent paper every 2–3 days for the first week to draw out moisture and avoid staining. After the first week, reducing changes to once more is usually enough.
- Finishing. Once leaves feel dry and papery, remove them carefully. If you want more longevity and slightly less fragility, mount the leaves between glass or in a simple frame, or adhere them to cotton paper with a pH-neutral adhesive sparingly.
Examples — small projects to try
1. Framed single-leaf study
Choose one striking leaf and center it on a plain sheet of paper inside a shallow frame. Keep the frame simple so the leaf’s shape and vein pattern are the focus. This works well for a windowsill or a hallway that benefits from a quiet focal point.
2. Seasonal mobile
Press several leaves of varying sizes. Attach each to thin natural twine using a small loop of archival tape behind the stem so it stays hidden. Suspend from a lightweight branch or a simple wooden dowel. The mobile introduces movement and allows both sides of the leaves to be visible as they turn.
3. Nature-wrapped notebook covers
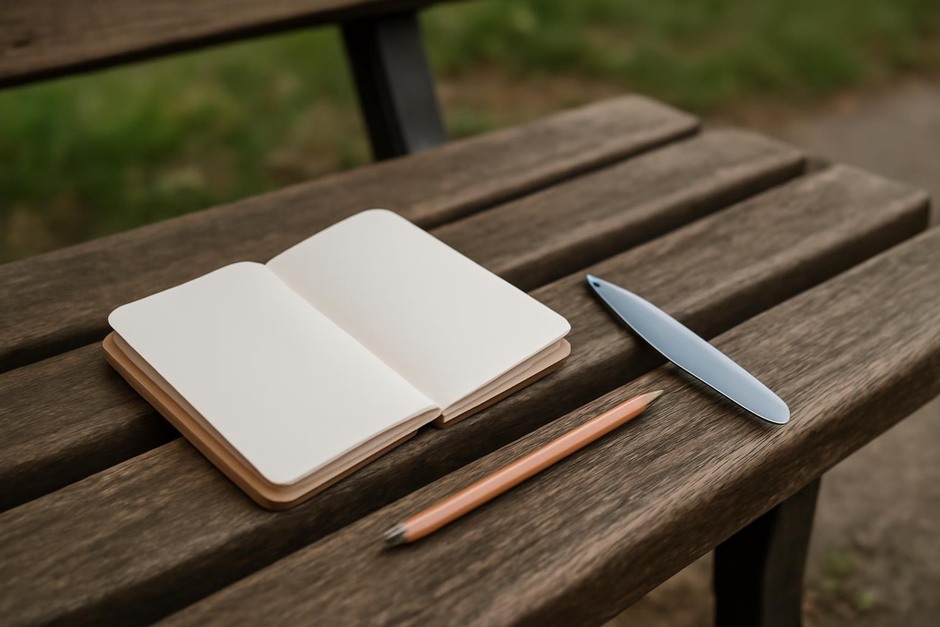
Adhere a few pressed leaves to the front of a plain notebook using a thin line of glue along the midrib. Seal with a sheet of clear adhesive film or place the cover inside a clear plastic sleeve. The tactile result is useful and decorative—good for sketching on walks.
Review — what I observed in practice
Over three small trials I found that mid-season leaves (those that had just turned color) gave the best balance of hue and flexibility. Replacing absorbent paper during the first week significantly reduced edge browning. Framing immediately after pressing keeps dust off and reduces handling damage; mobiles look lovely but require occasional gentle flattening if a gust skews their plane.
Limitations: very wet leaves or those with thick, waxy coatings did not press well with this simple method. Also, even well-pressed leaves remain delicate—consider framing or protective enclosure if you expect frequent handling.
Practice checklist
- Collect dry, intact leaves; avoid very wet or overly brittle specimens.
- Use absorbent paper between leaves; change papers every 2–3 days during the first week.
- Apply steady, even pressure with books or a press; keep the stack in a warm, dry place out of direct sun.
- Allow 1–2 weeks for drying; verify dryness by touch before handling.
- Frame, mount, or enclose pressed leaves to protect them from dust and handling.
Studio note: this is a low-tech, repeatable approach intended to make seasonal materials part of everyday home life. It isn’t archival conservation, but it does reliably keep color and shape long enough for several seasons of display and enjoyment.